Thursday, March 29, 2012

More Mobile Home Transition, before and after bathrooms


Our mobile home has two bathrooms, this is the small one which is the most used. It too has undergone a few transformations, I am glad to say I do not have photos of all of them because frankly, it has looked awful!


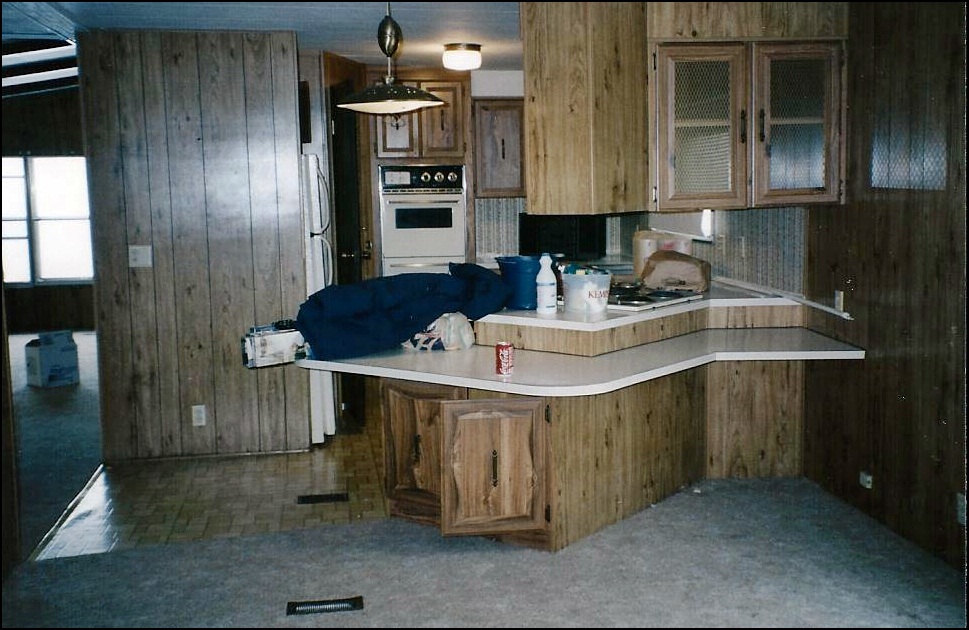
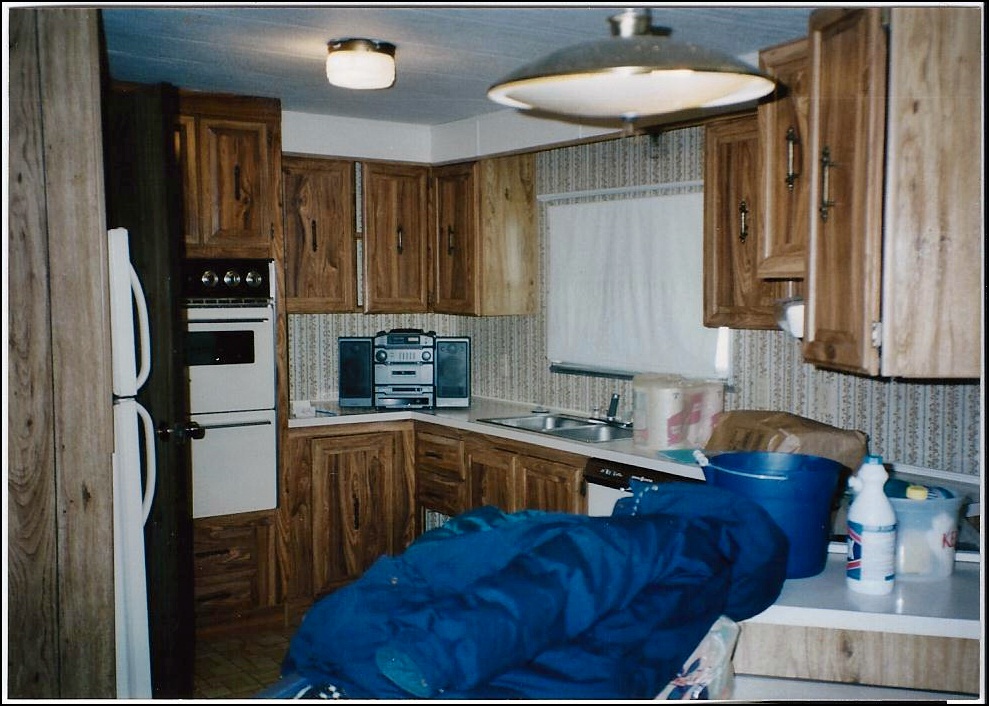
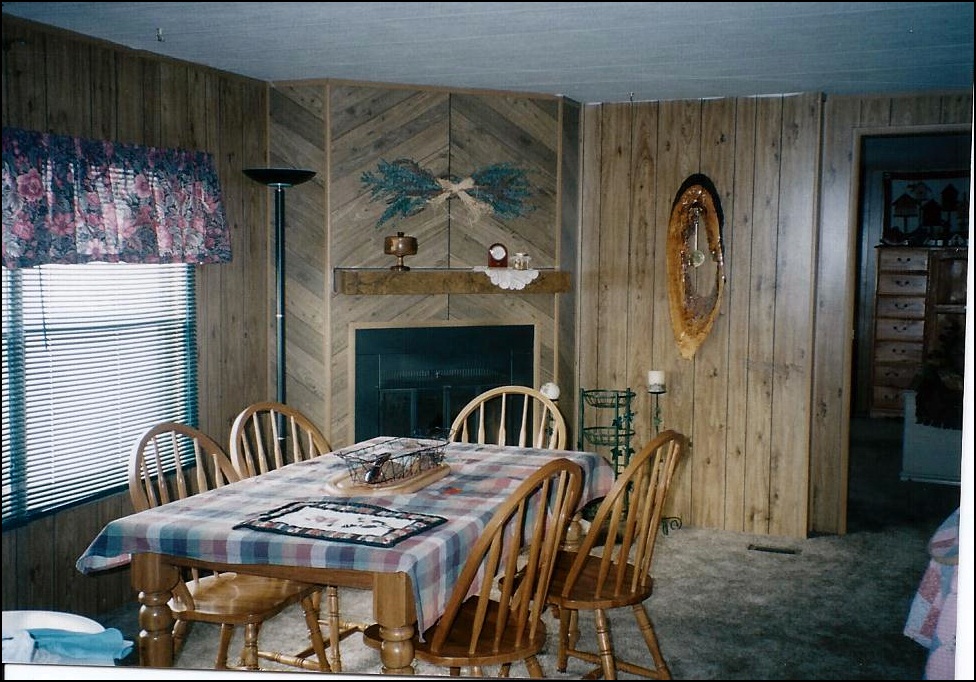
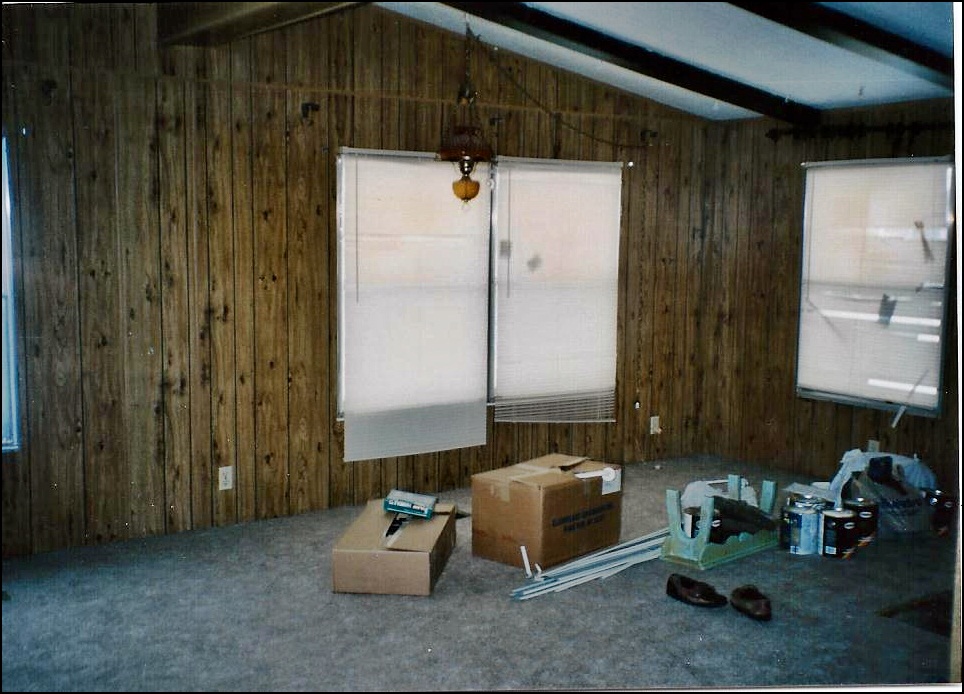
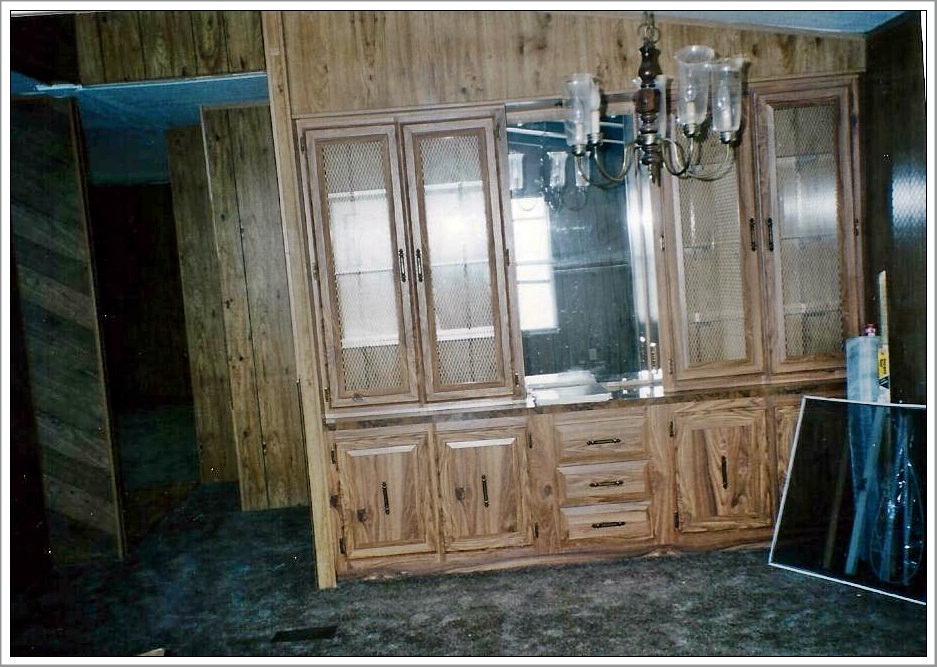
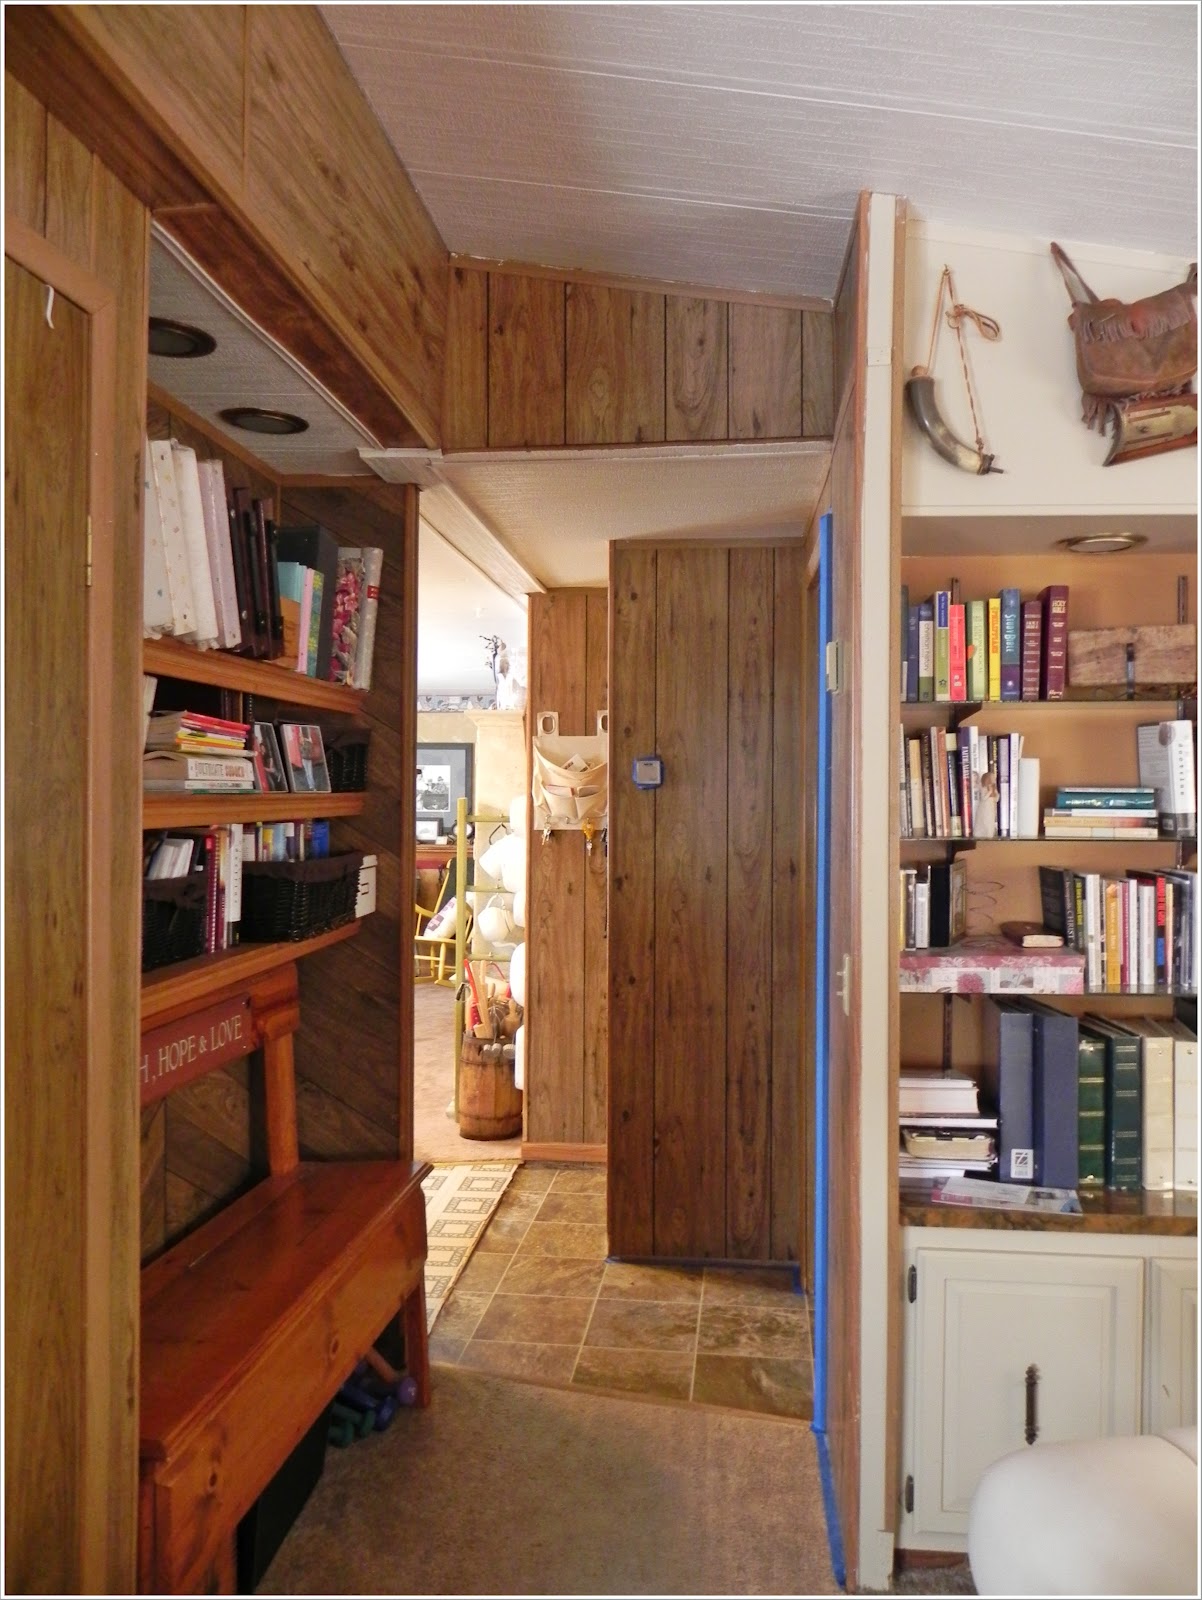
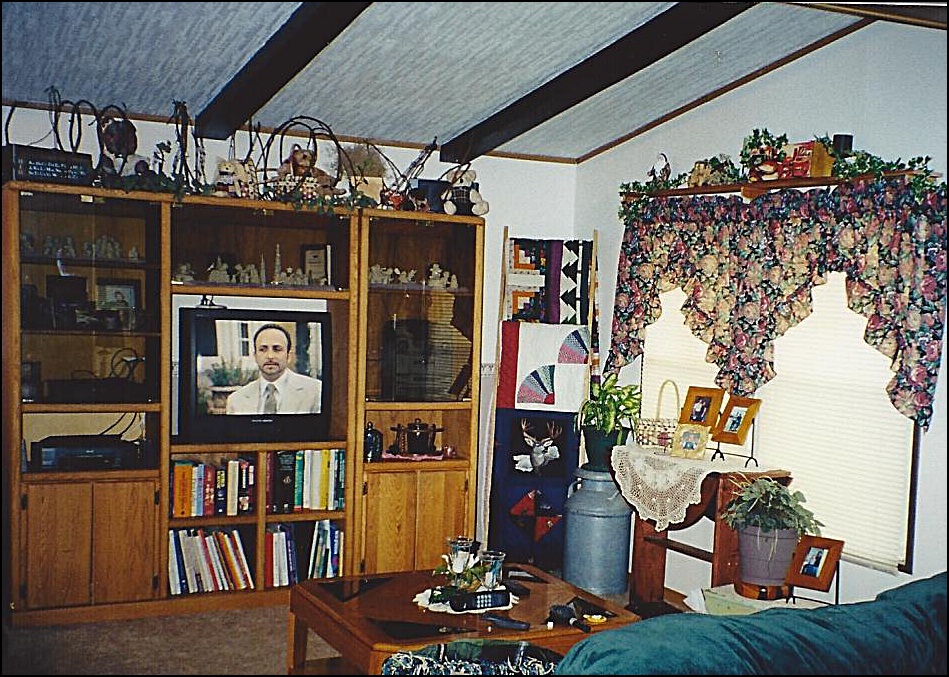
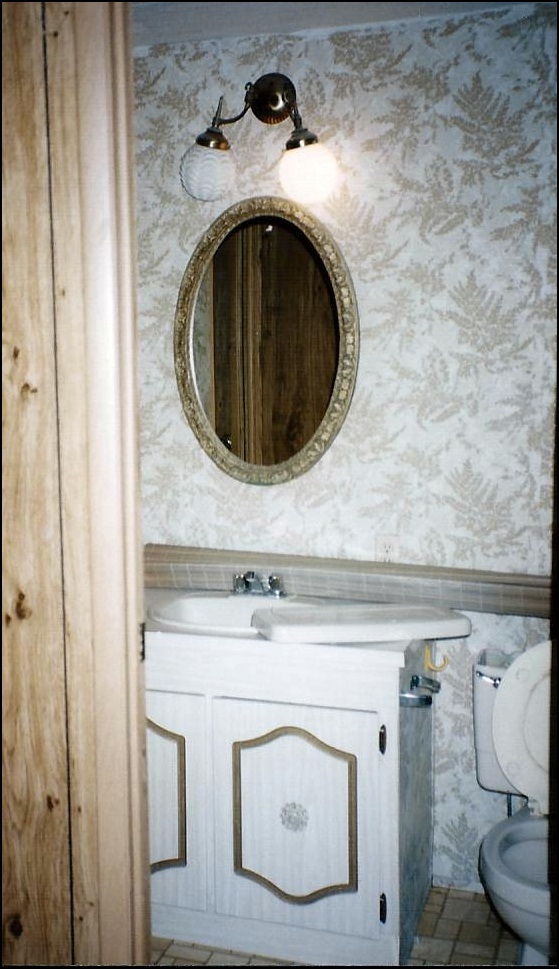
This is what it looked like when we first moved in, both baths had the same fern wallpaper. This shot is from a door that we closed up, I could never understand why the little bathroom had two doors, one the main entry and the other from a bedroom that wasn't even the master. These doors were literally two feet apart from each other.  We sheetrocked over the area which gave greater wall space to both rooms.

This room immediately went to an awful puke green color which didn't last long, then this brilliant dark paper with the once again great idea of stamping the moose and bear along the top. I know that  I did like this back then, but it was so dark.... and hunter green.....let's say I am glad it was a passing phase.


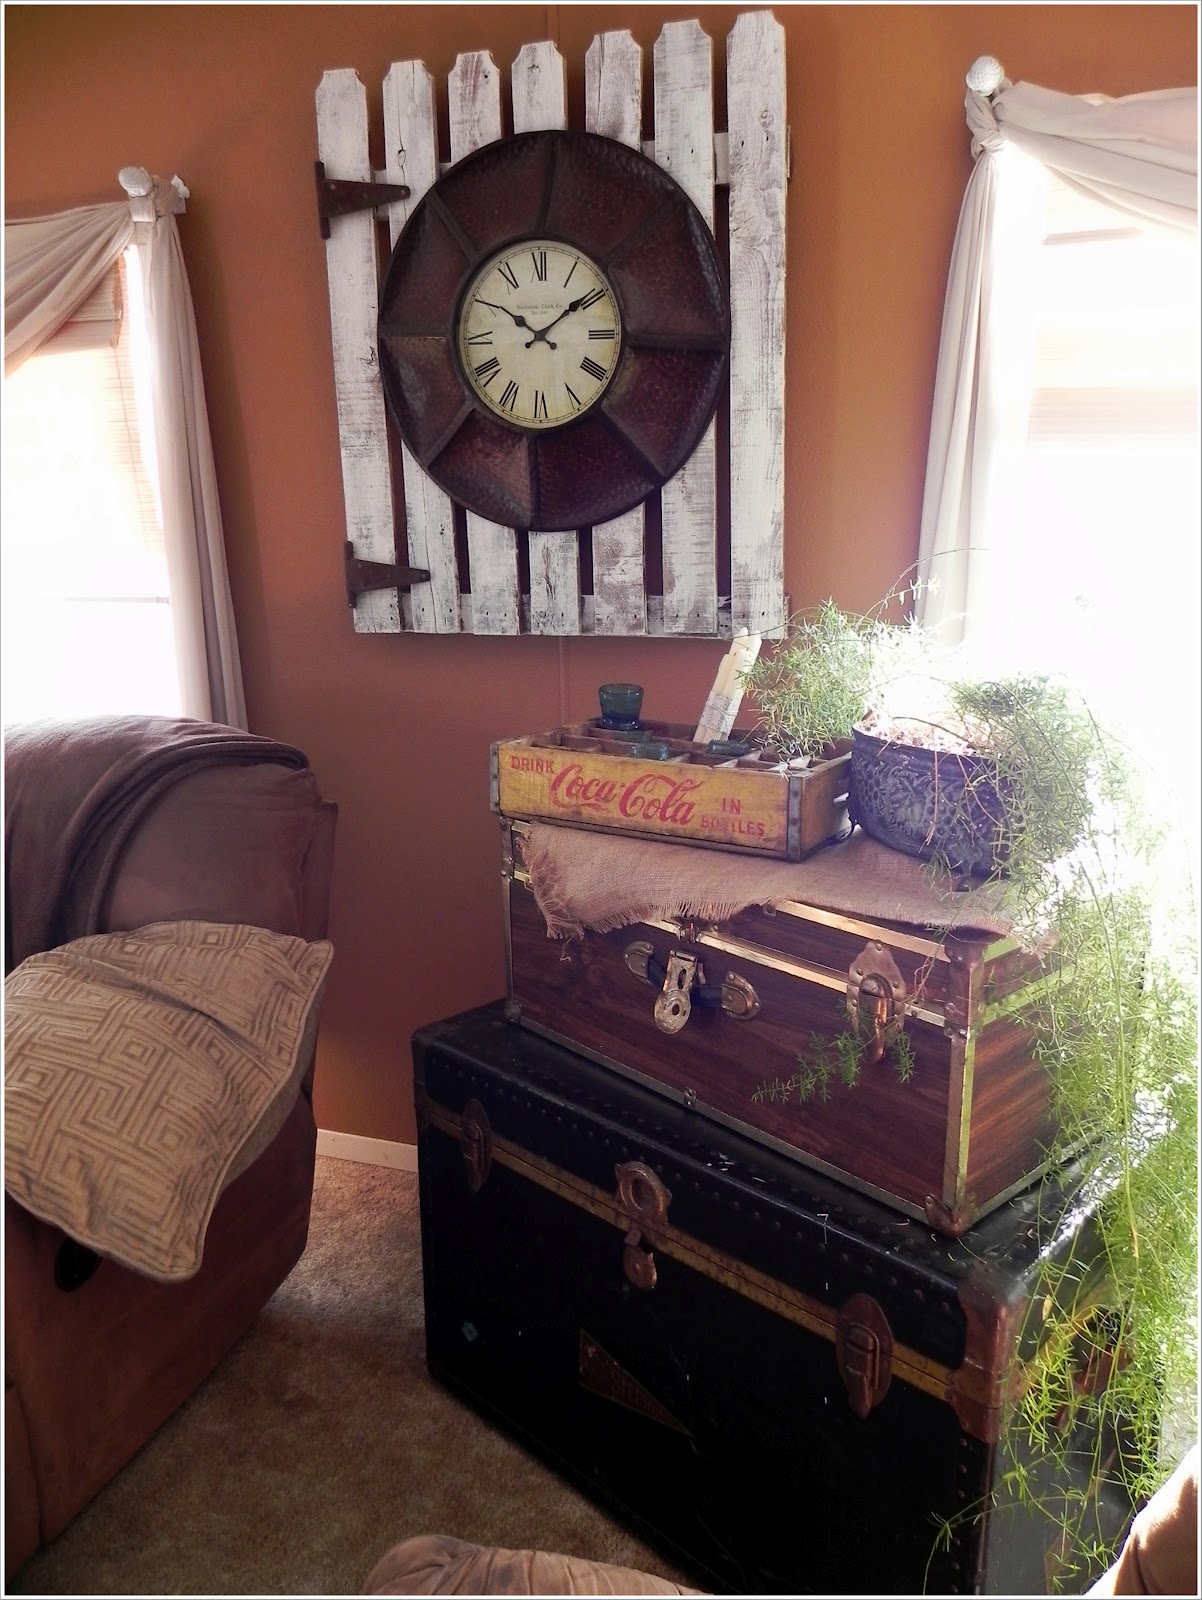
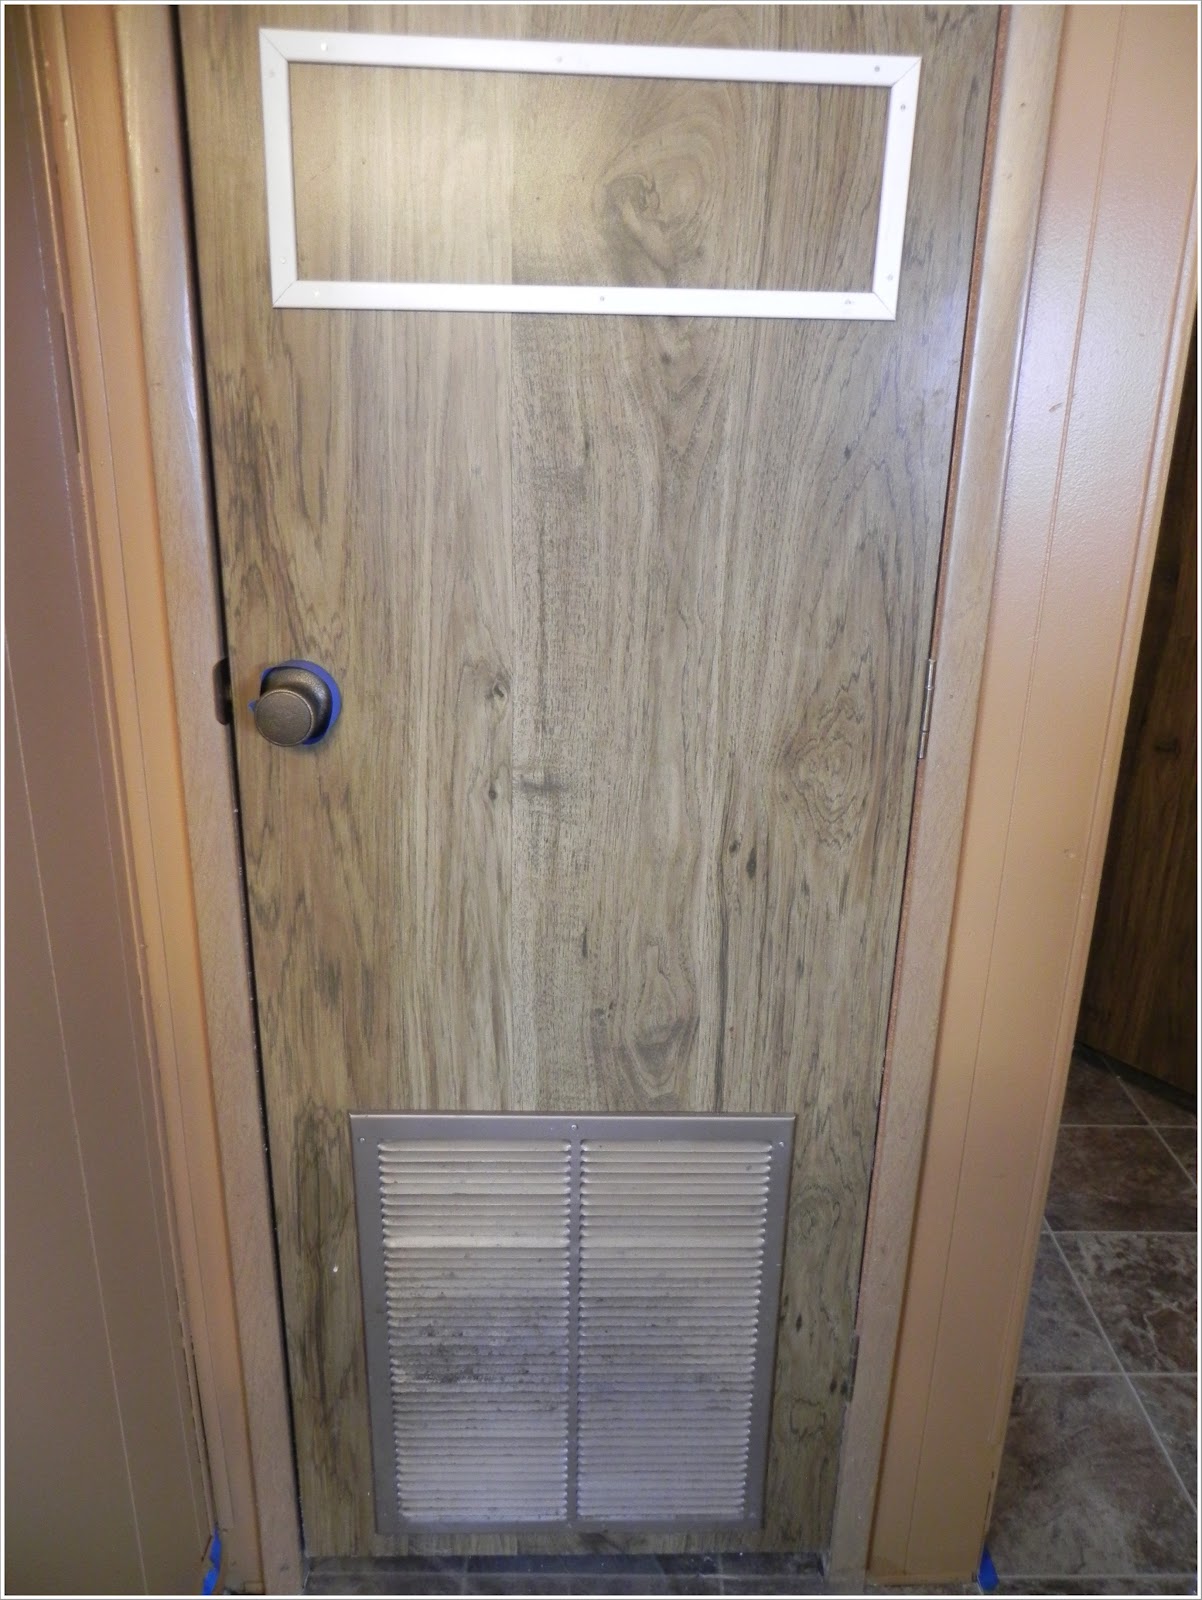
Now, it has been replaced with a tile look wall board. Sold in 4X8 sheets at most home improvement stores, these give a lot of options with one main draw back- nail holes. Wall board is not an easy fix for holes, the texture is usually smooth and putty stands out, then painting over the putty on a shiny surface doesn't present a very good look.


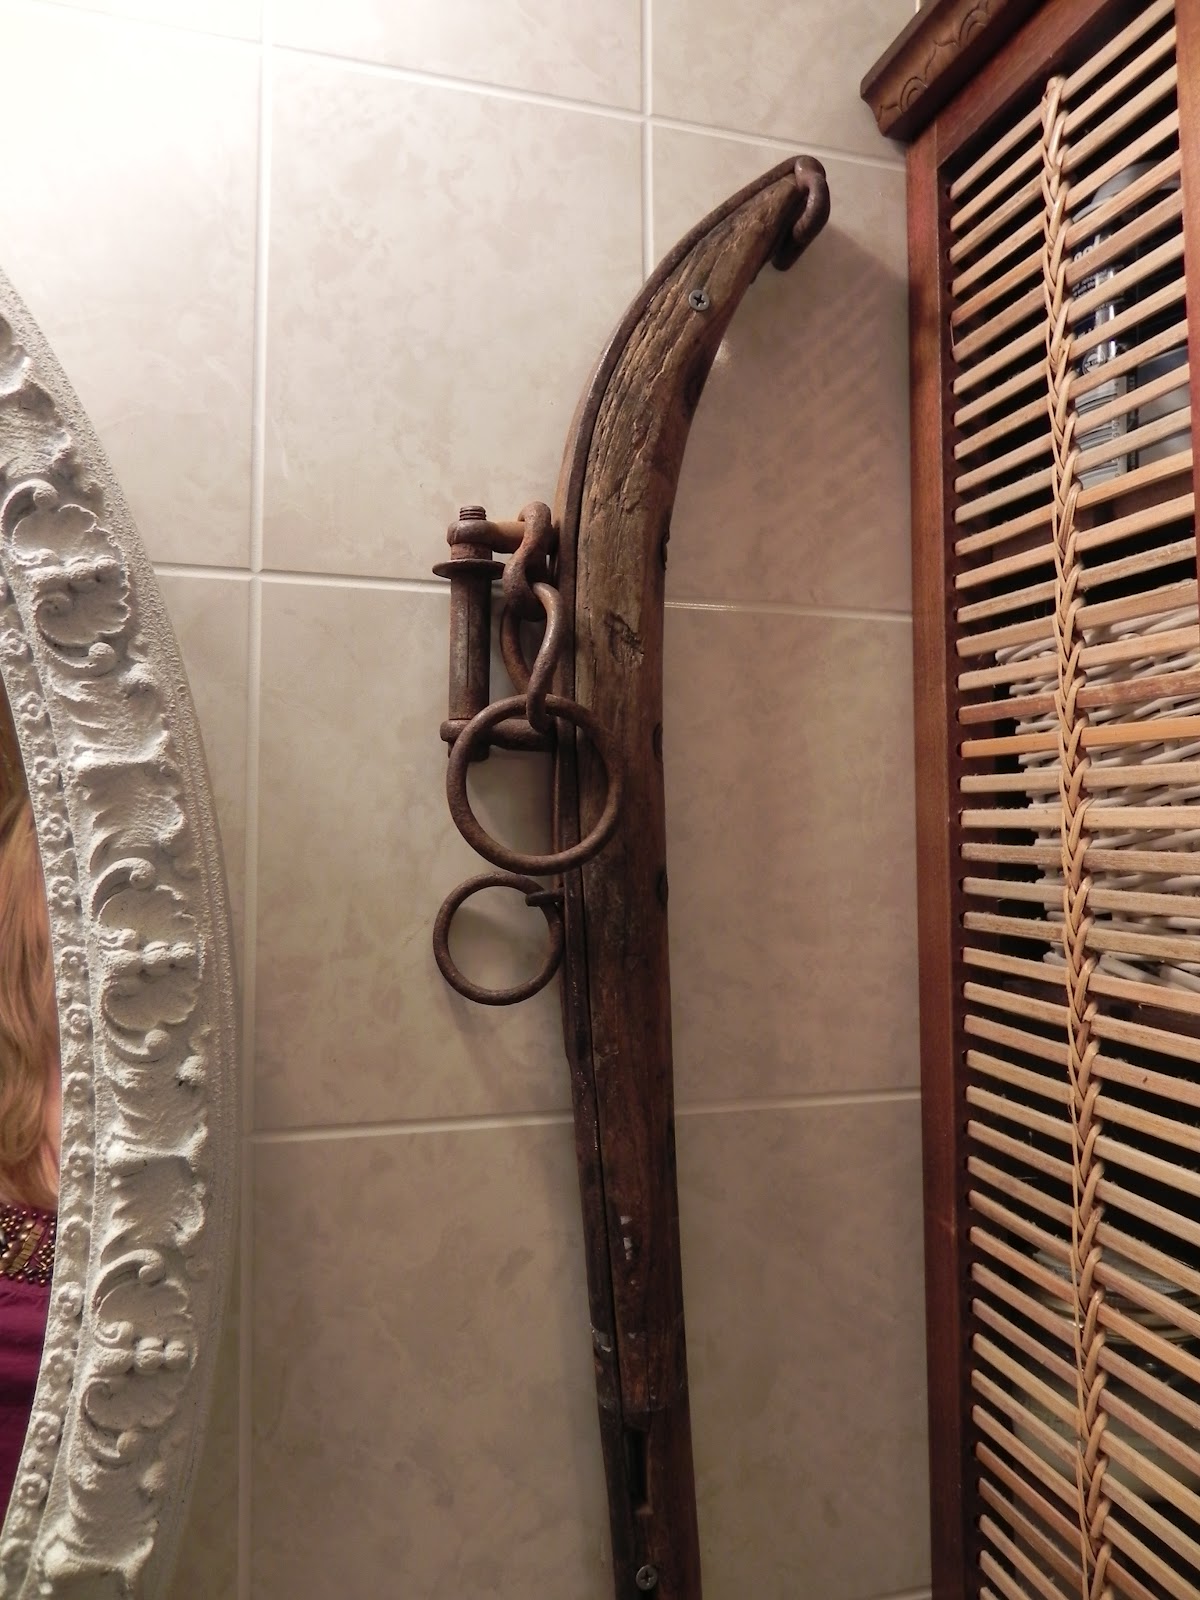
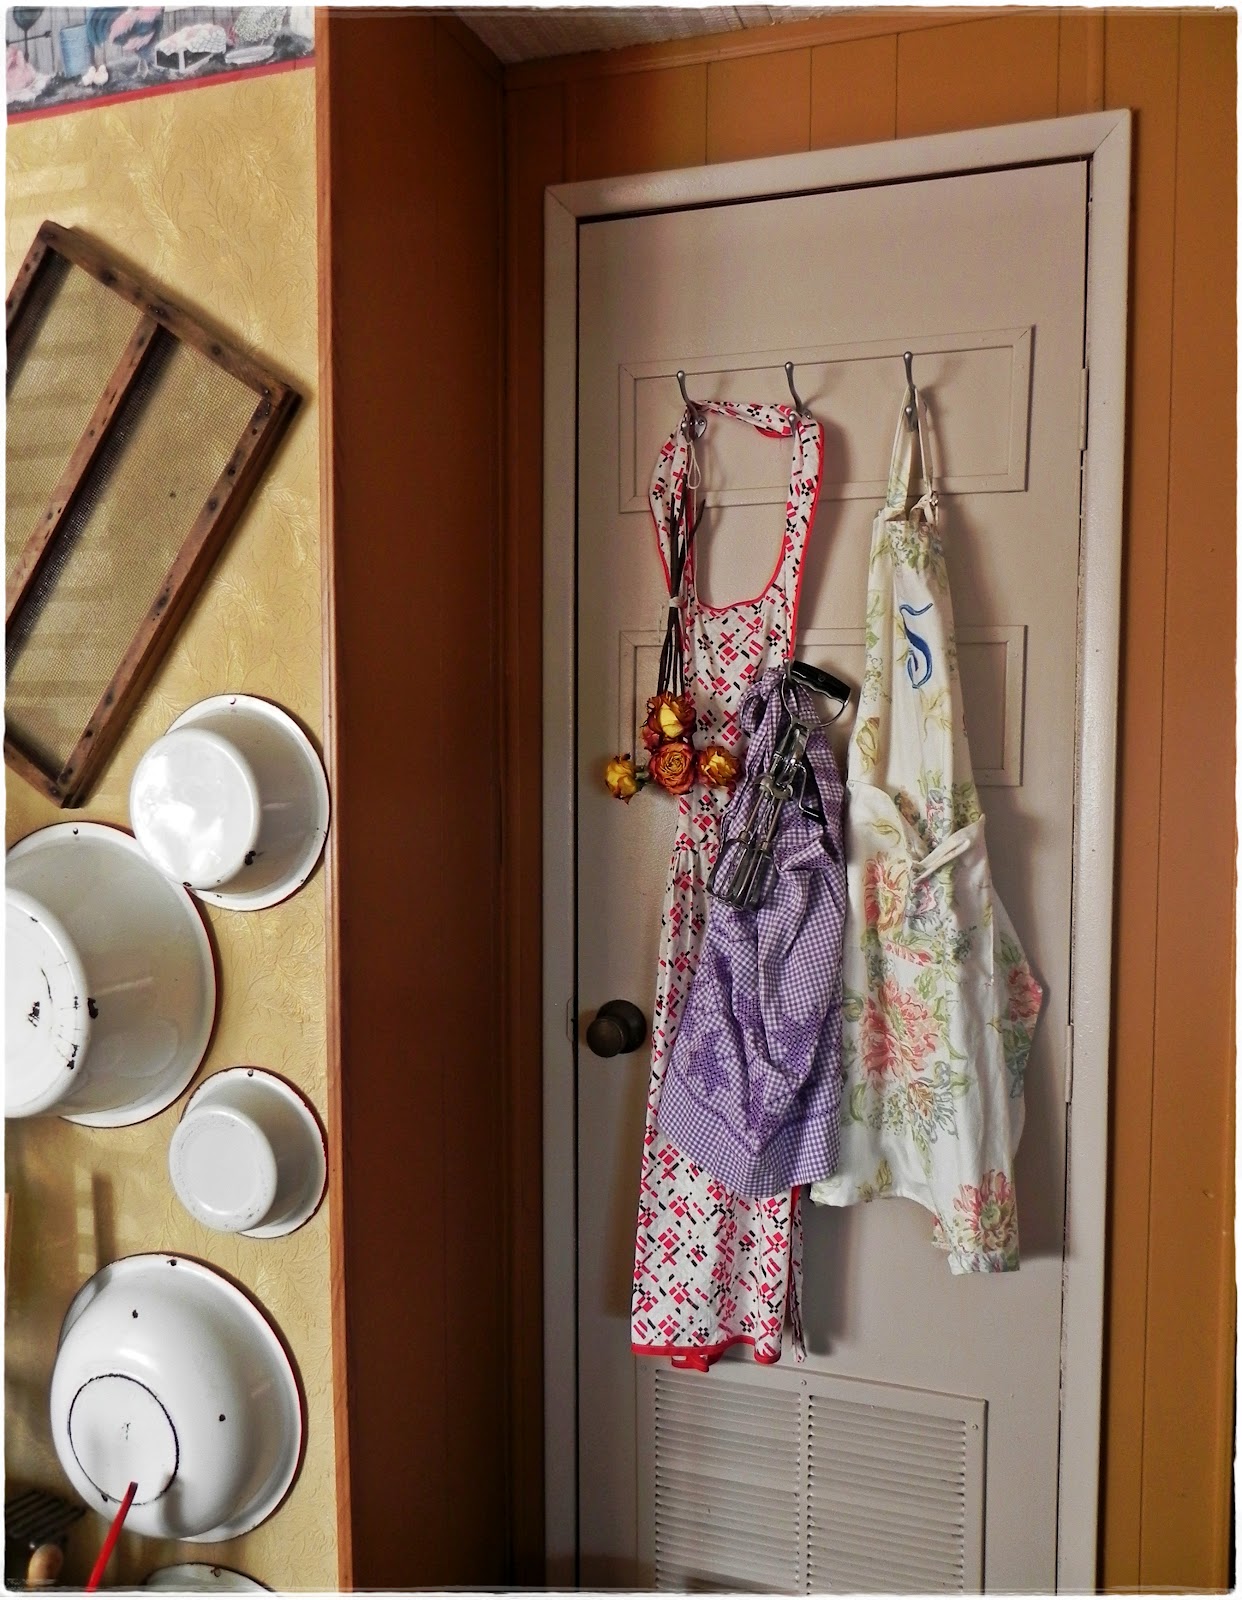
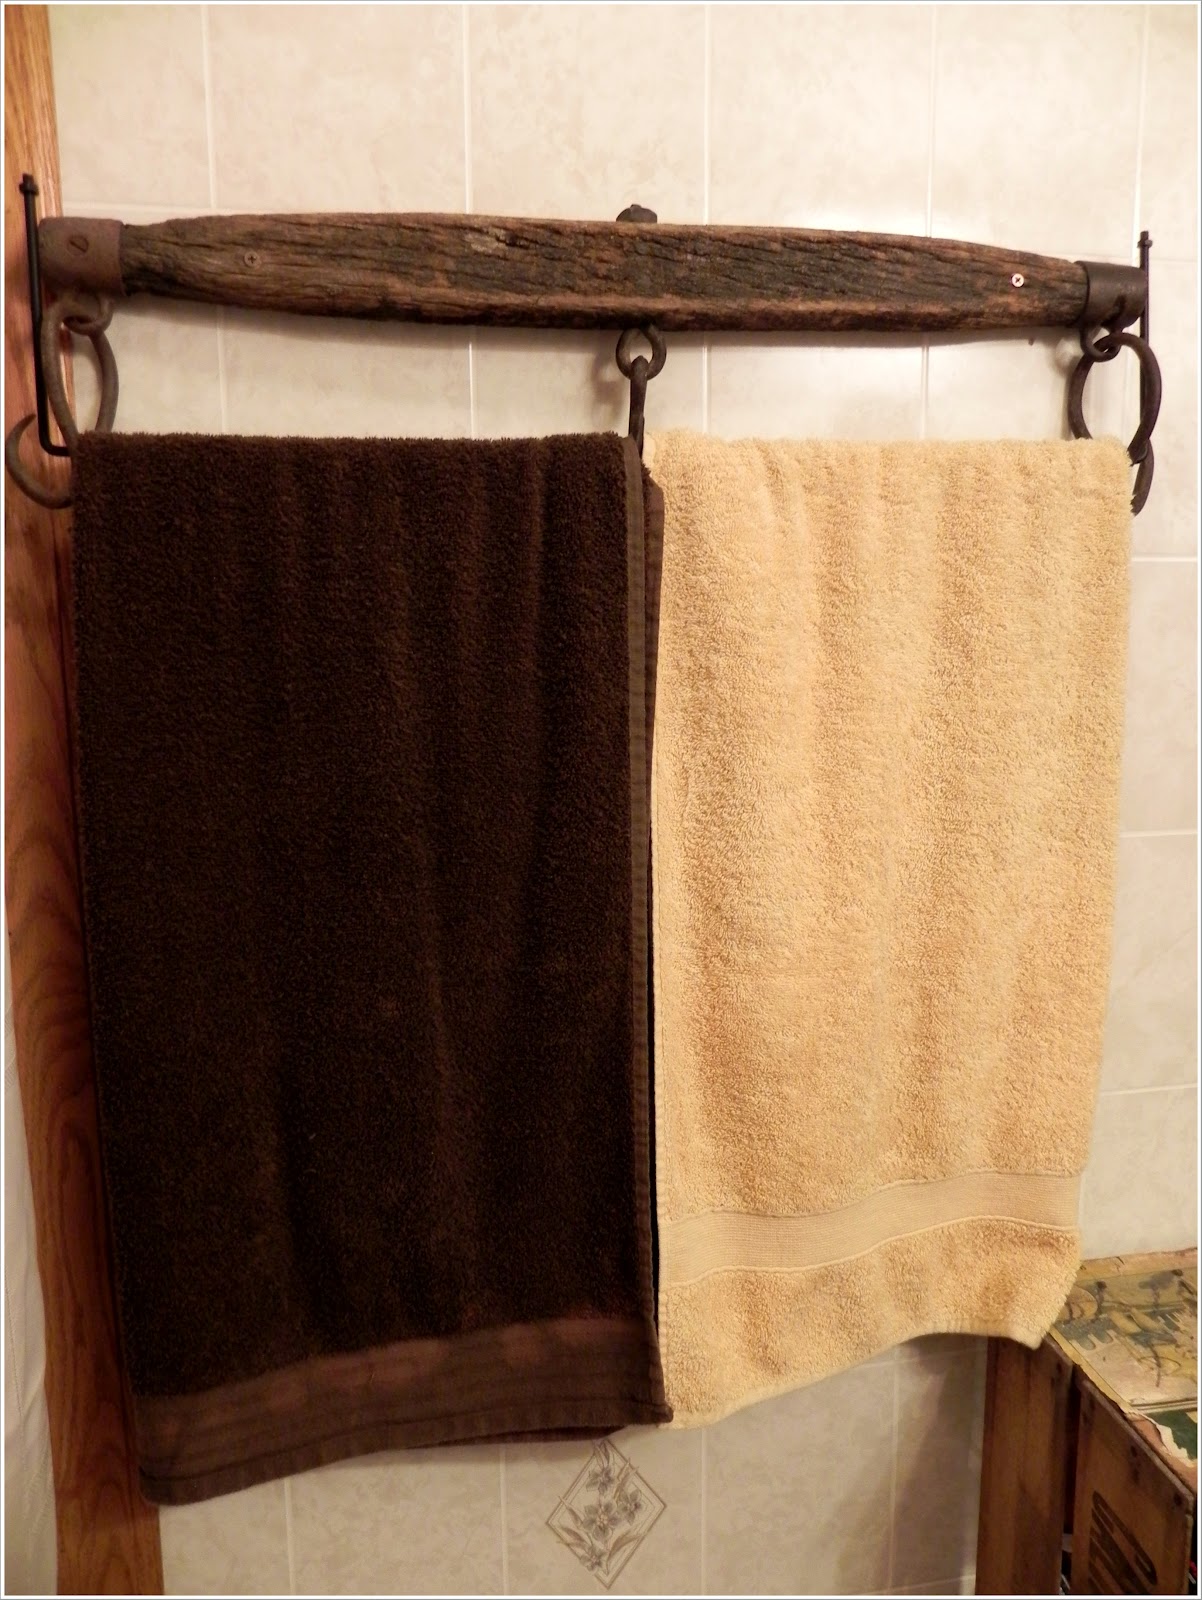
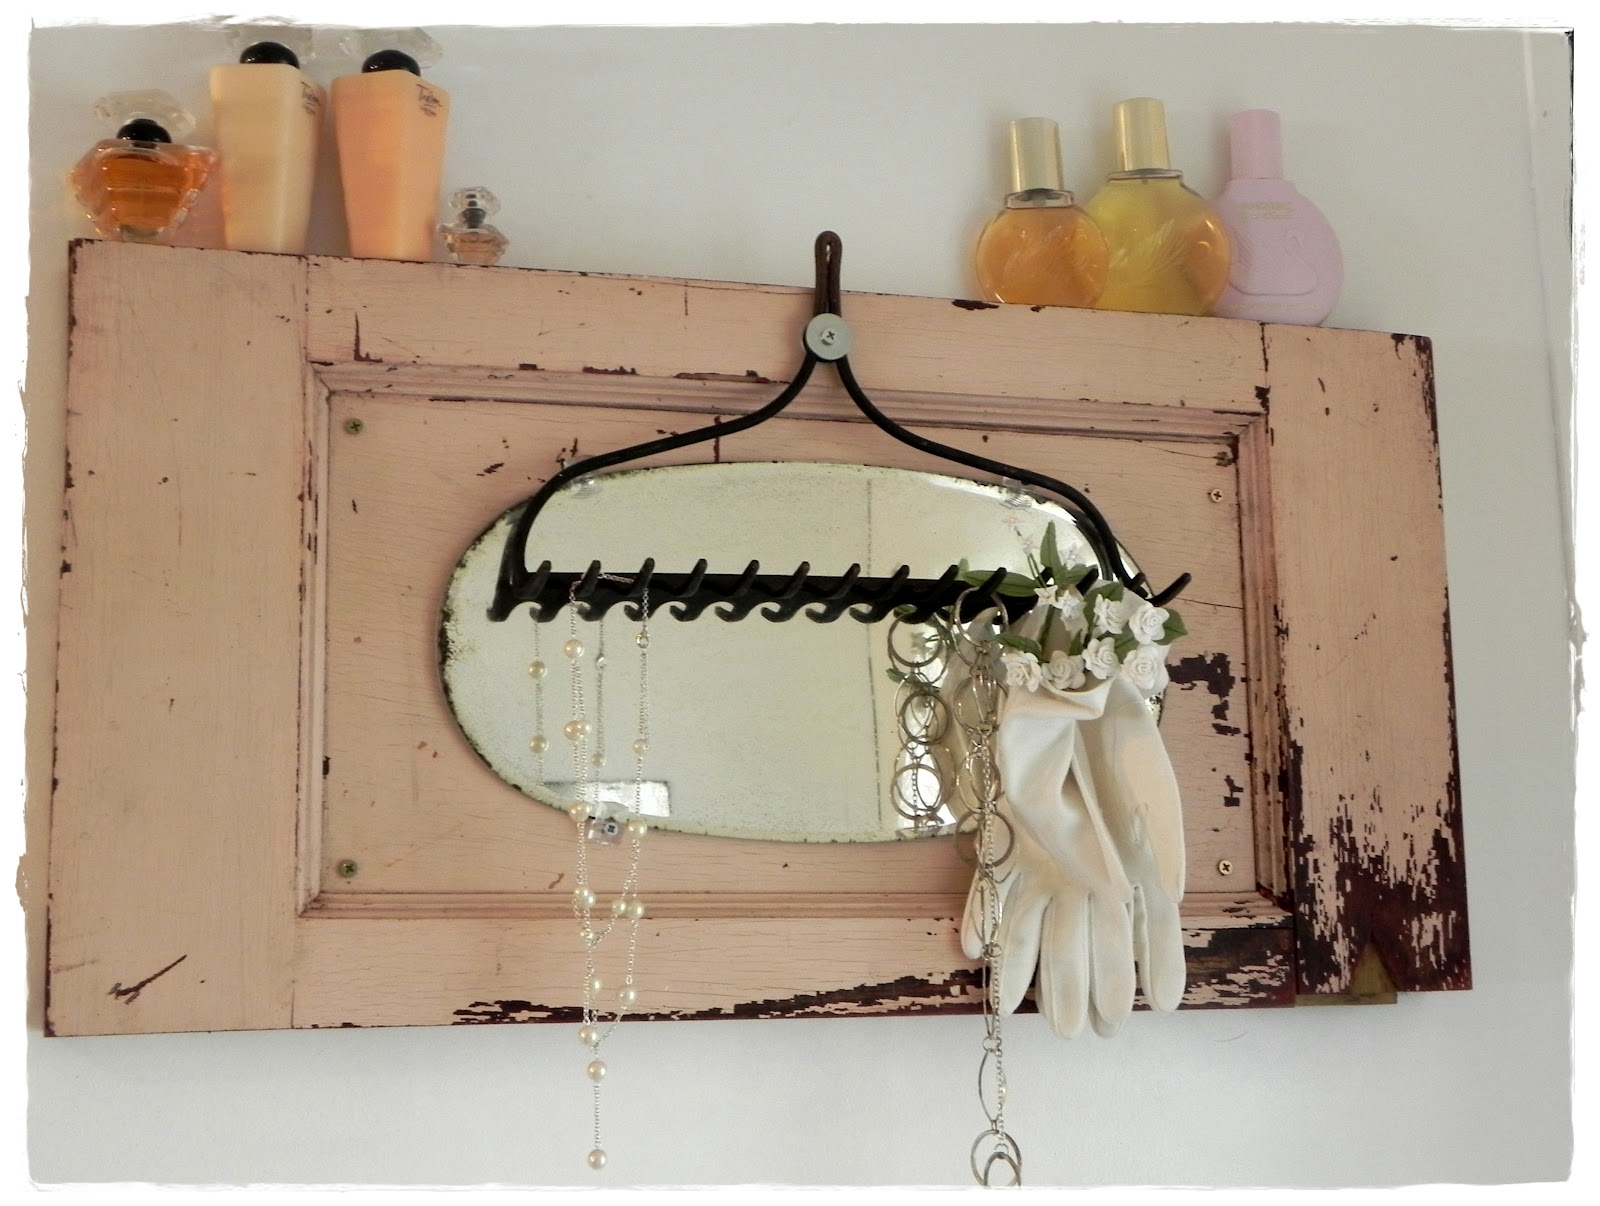
This is my opportunity to show you something new! My neighbors were shopping at a thrift store and saw these gems, and thought, "Shannon would love these"  so they bought them for me. I was so excited! I had been looking for a way to give this room more of a boost, it had been stark with no reflection of any style like the rest of the home.


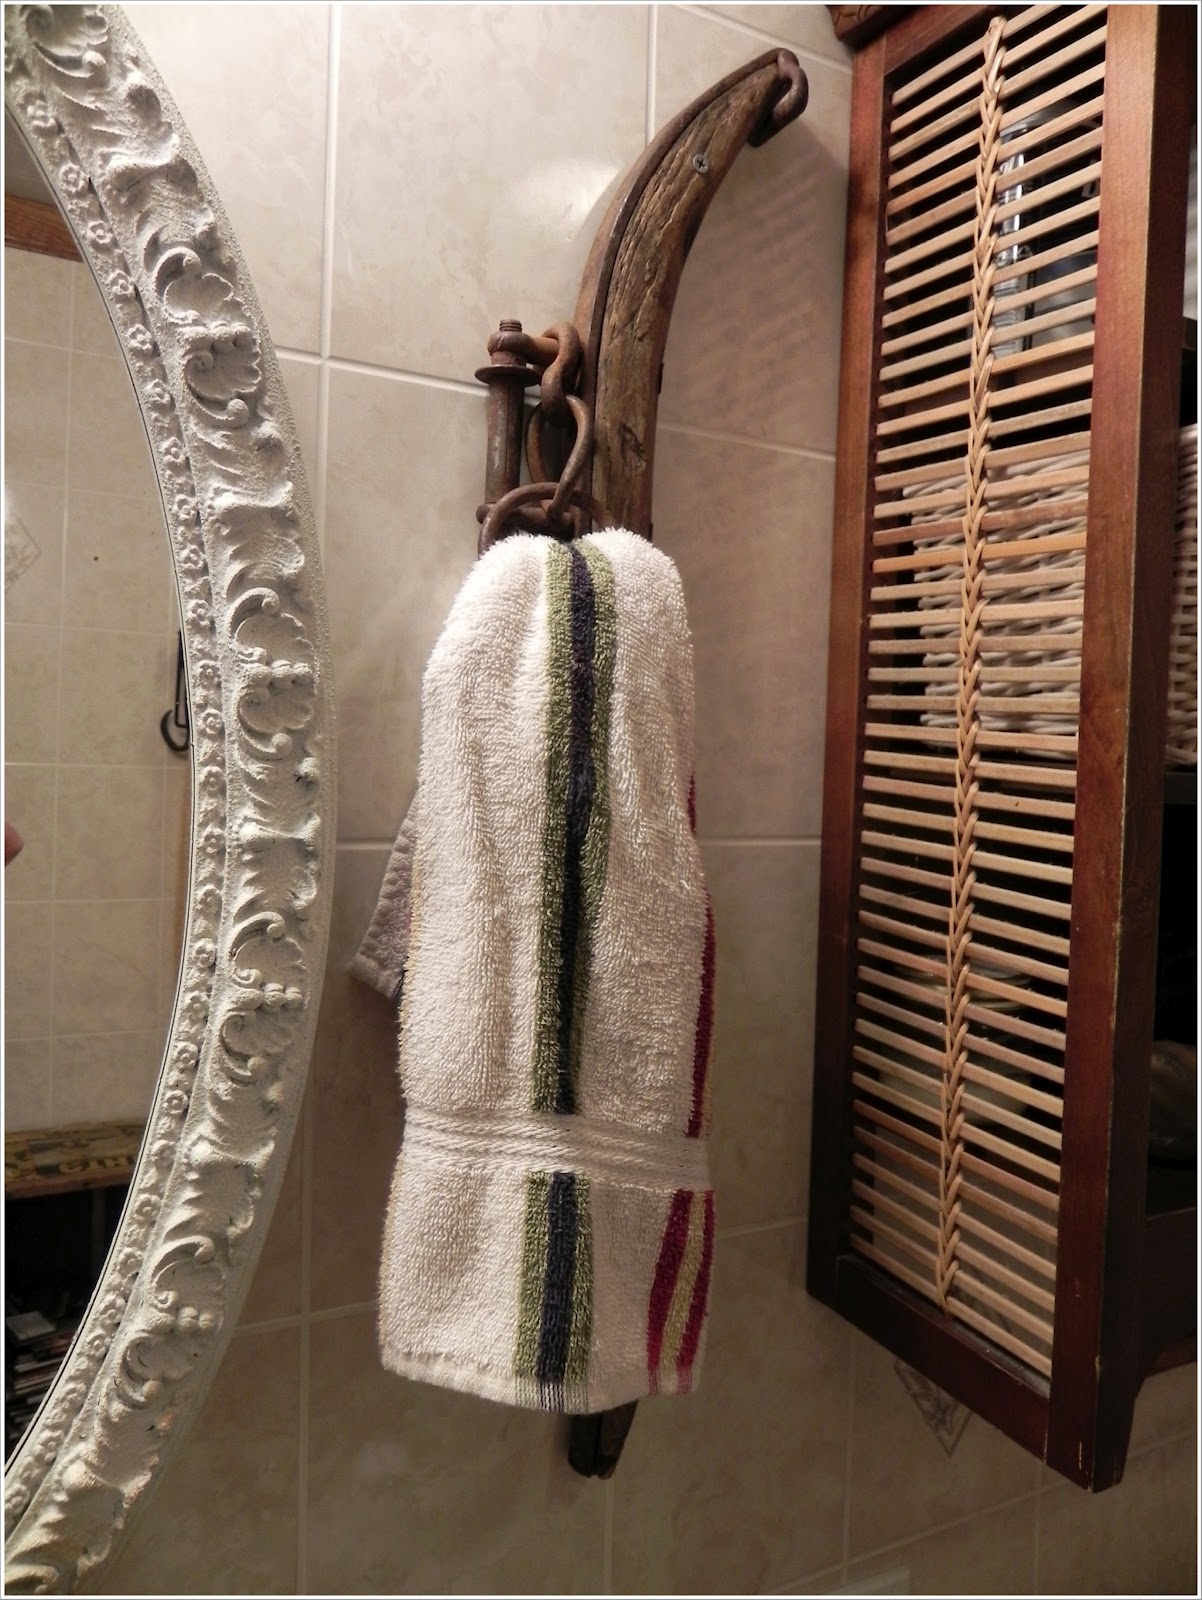
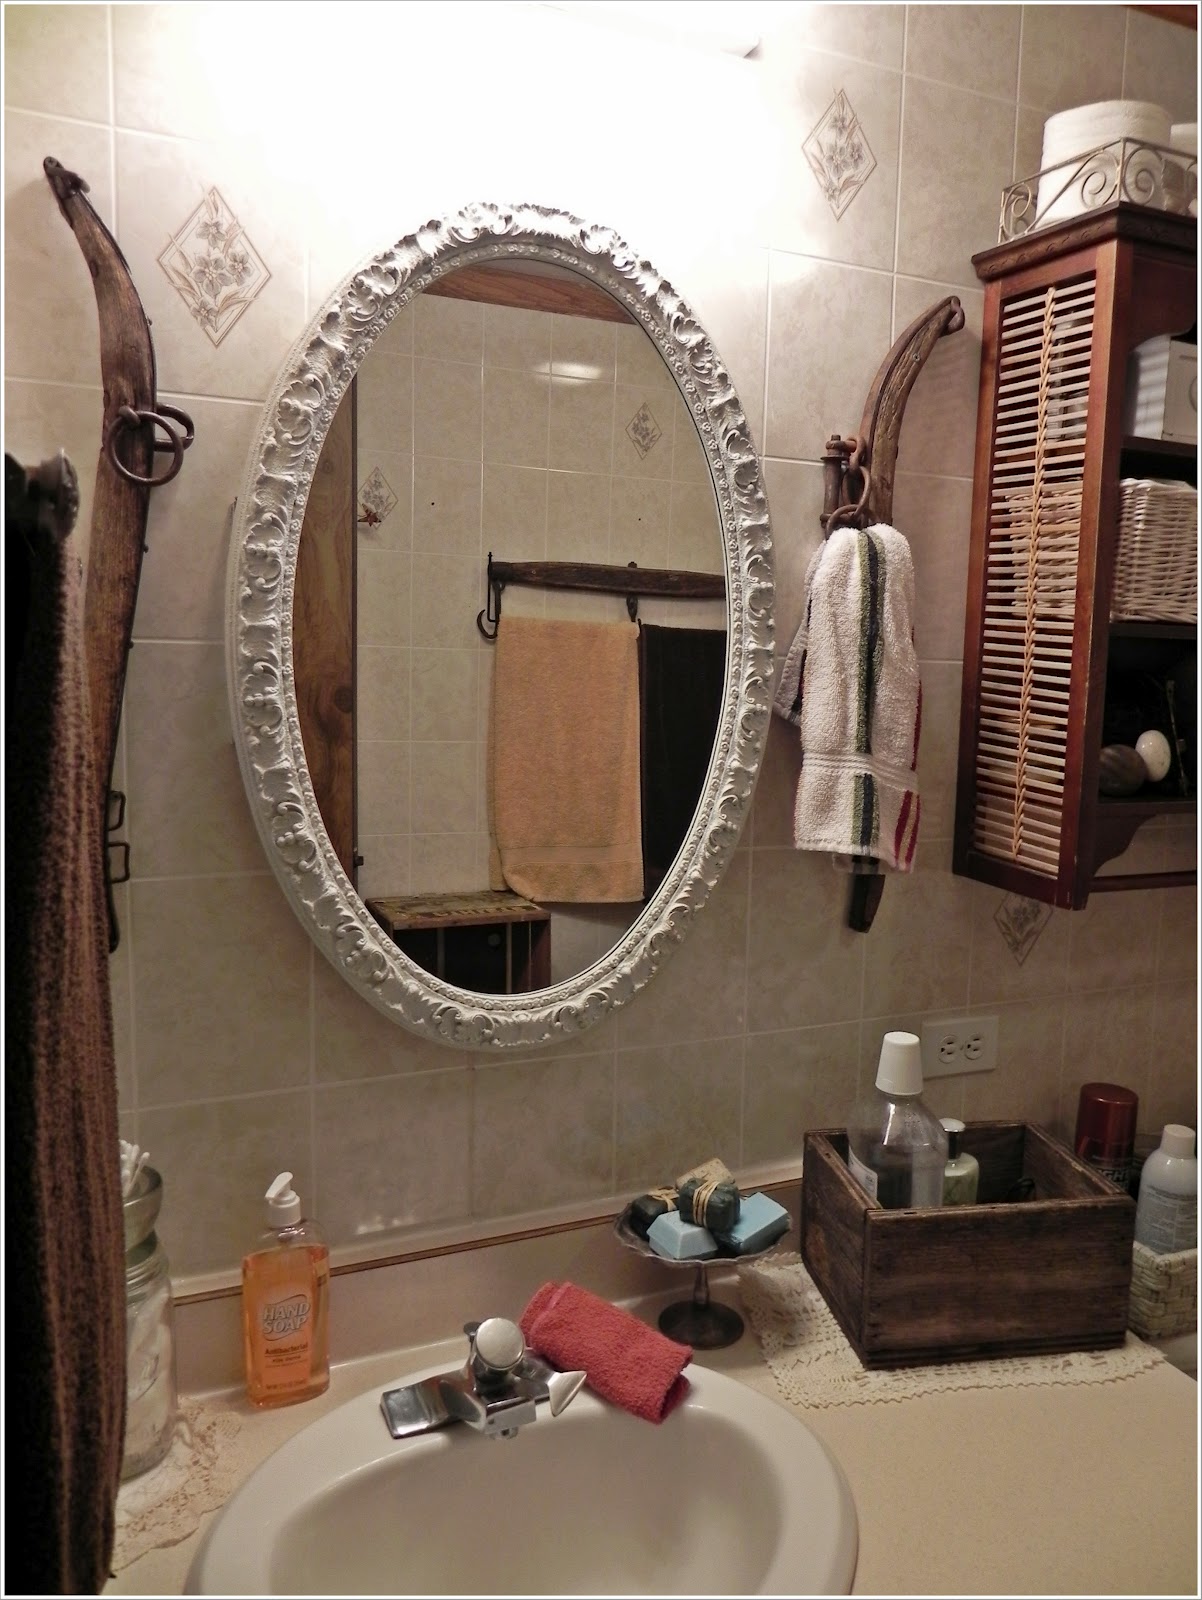
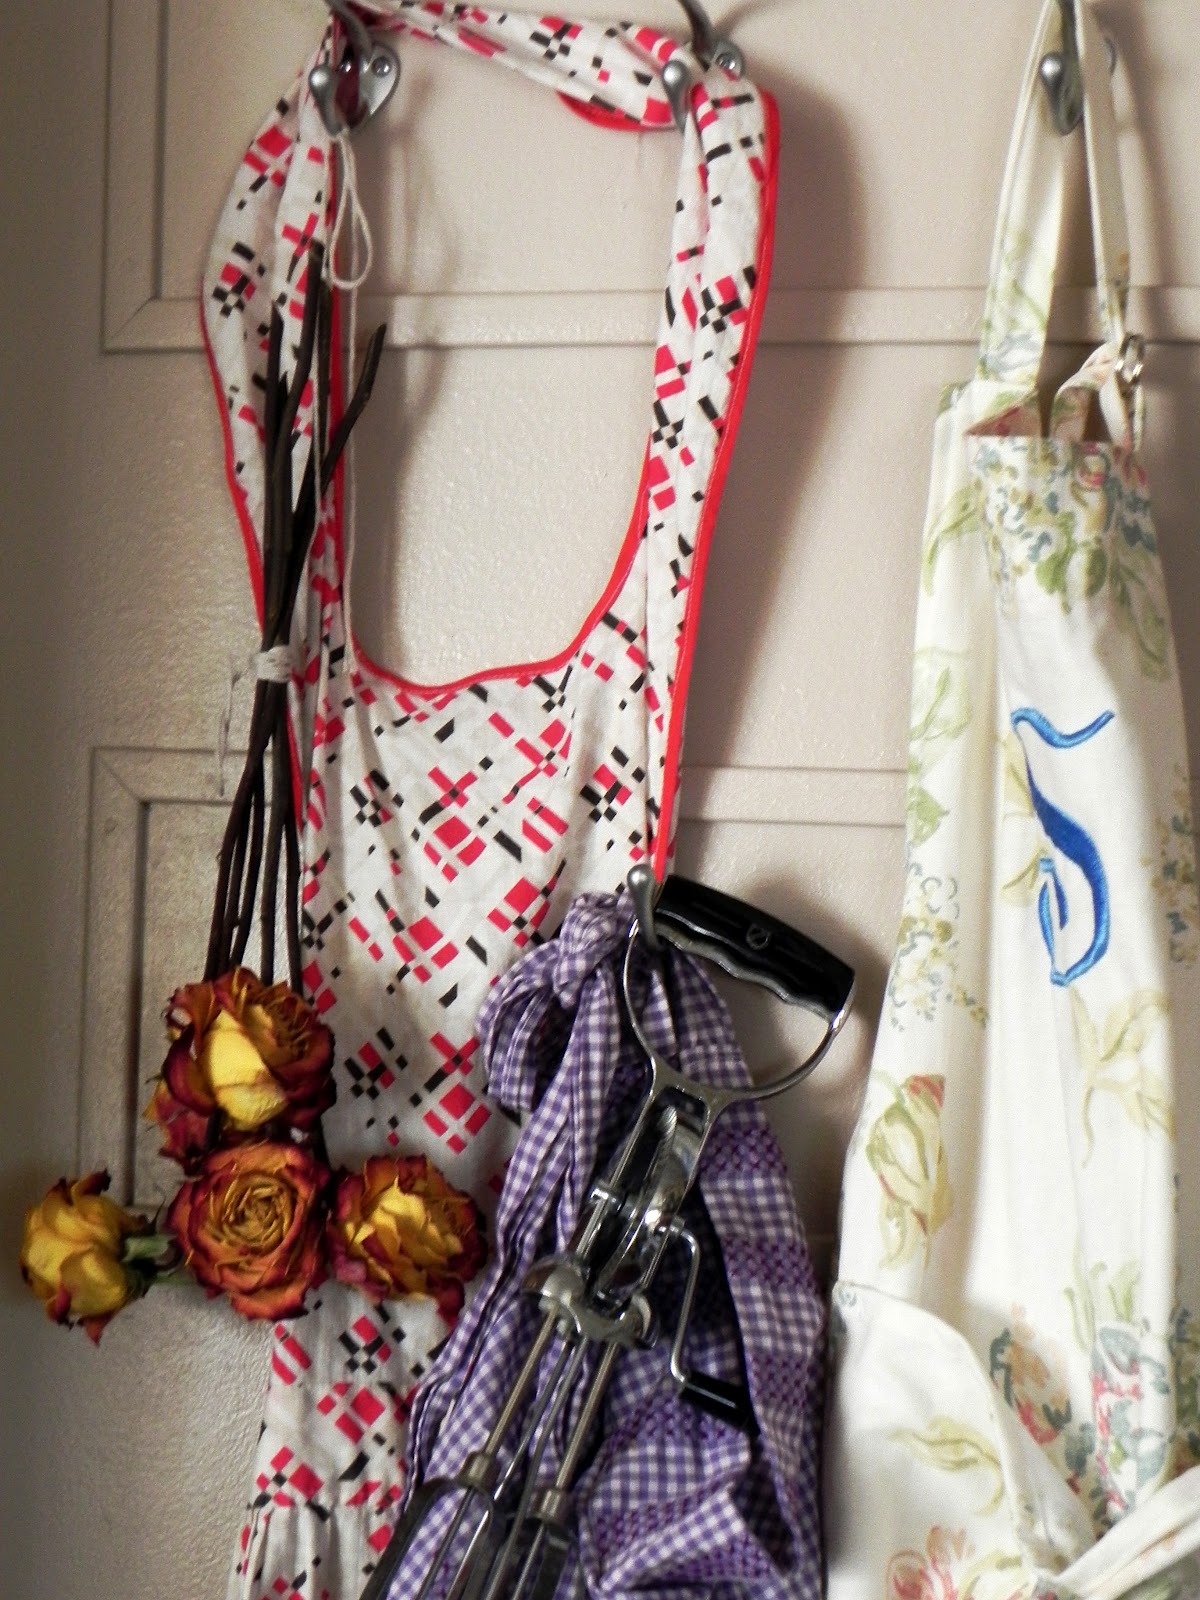
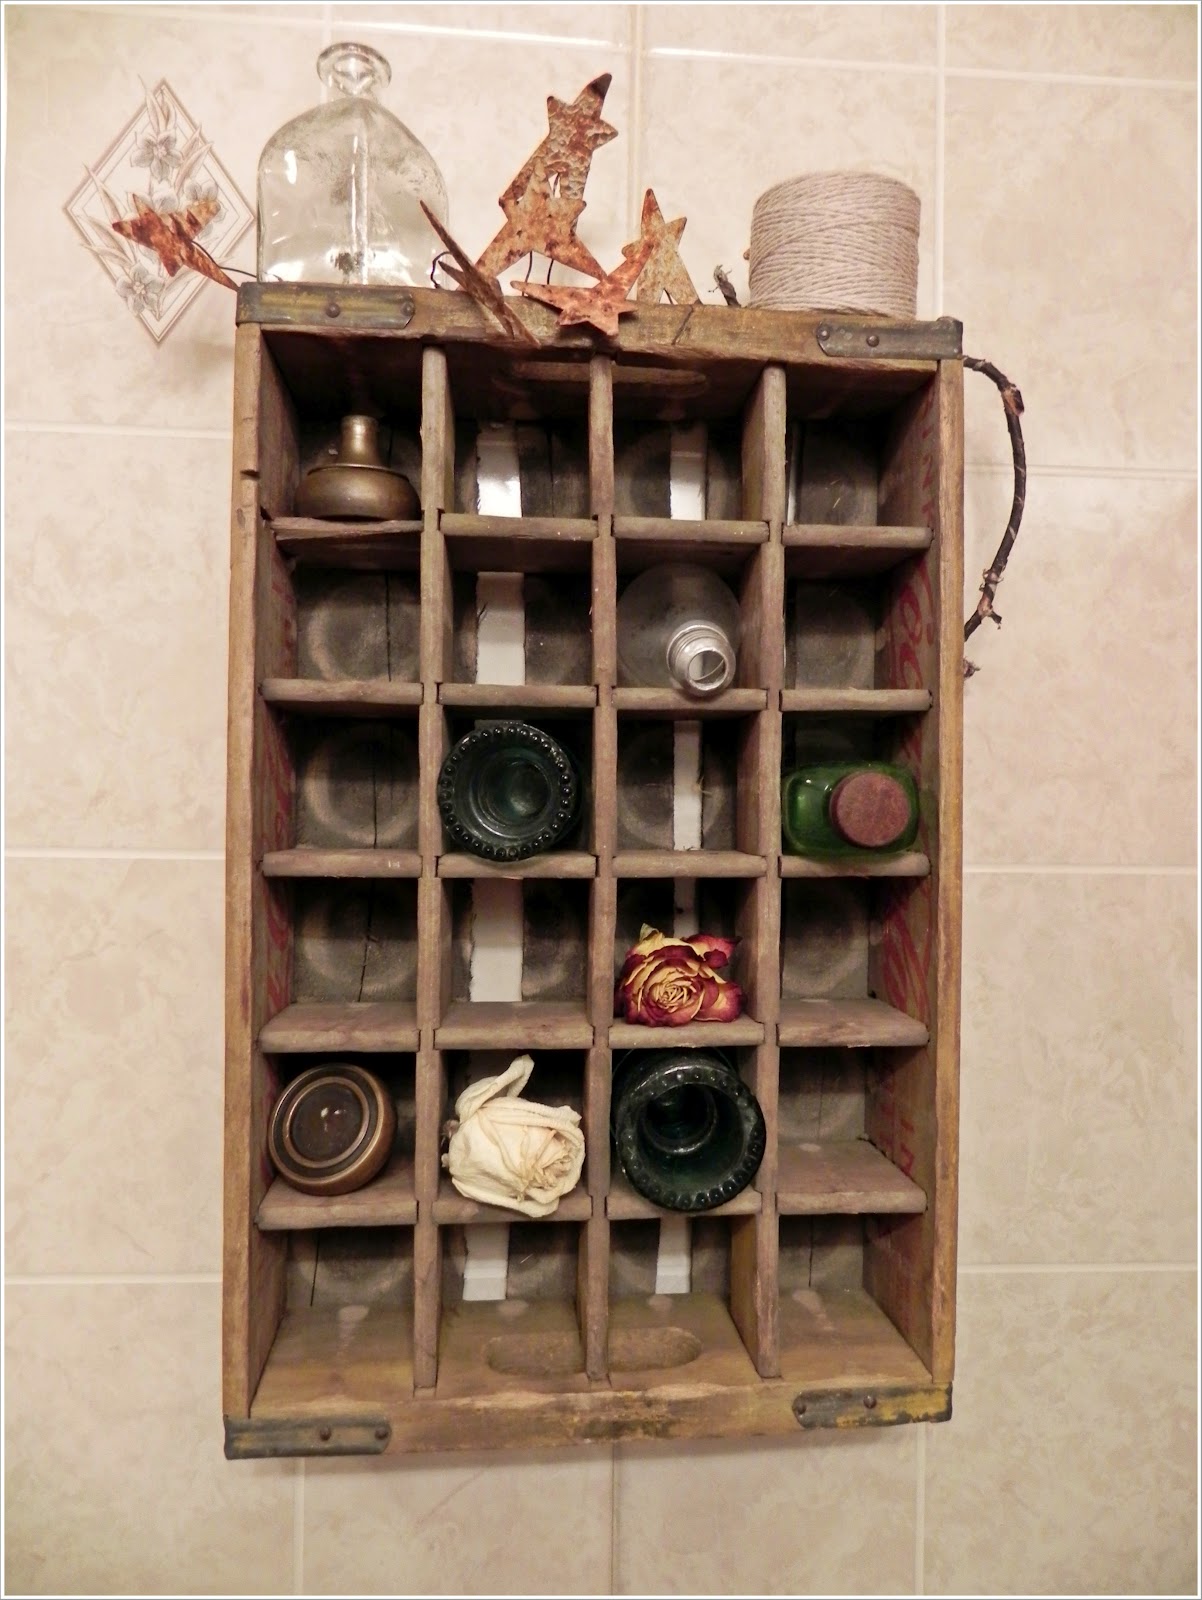
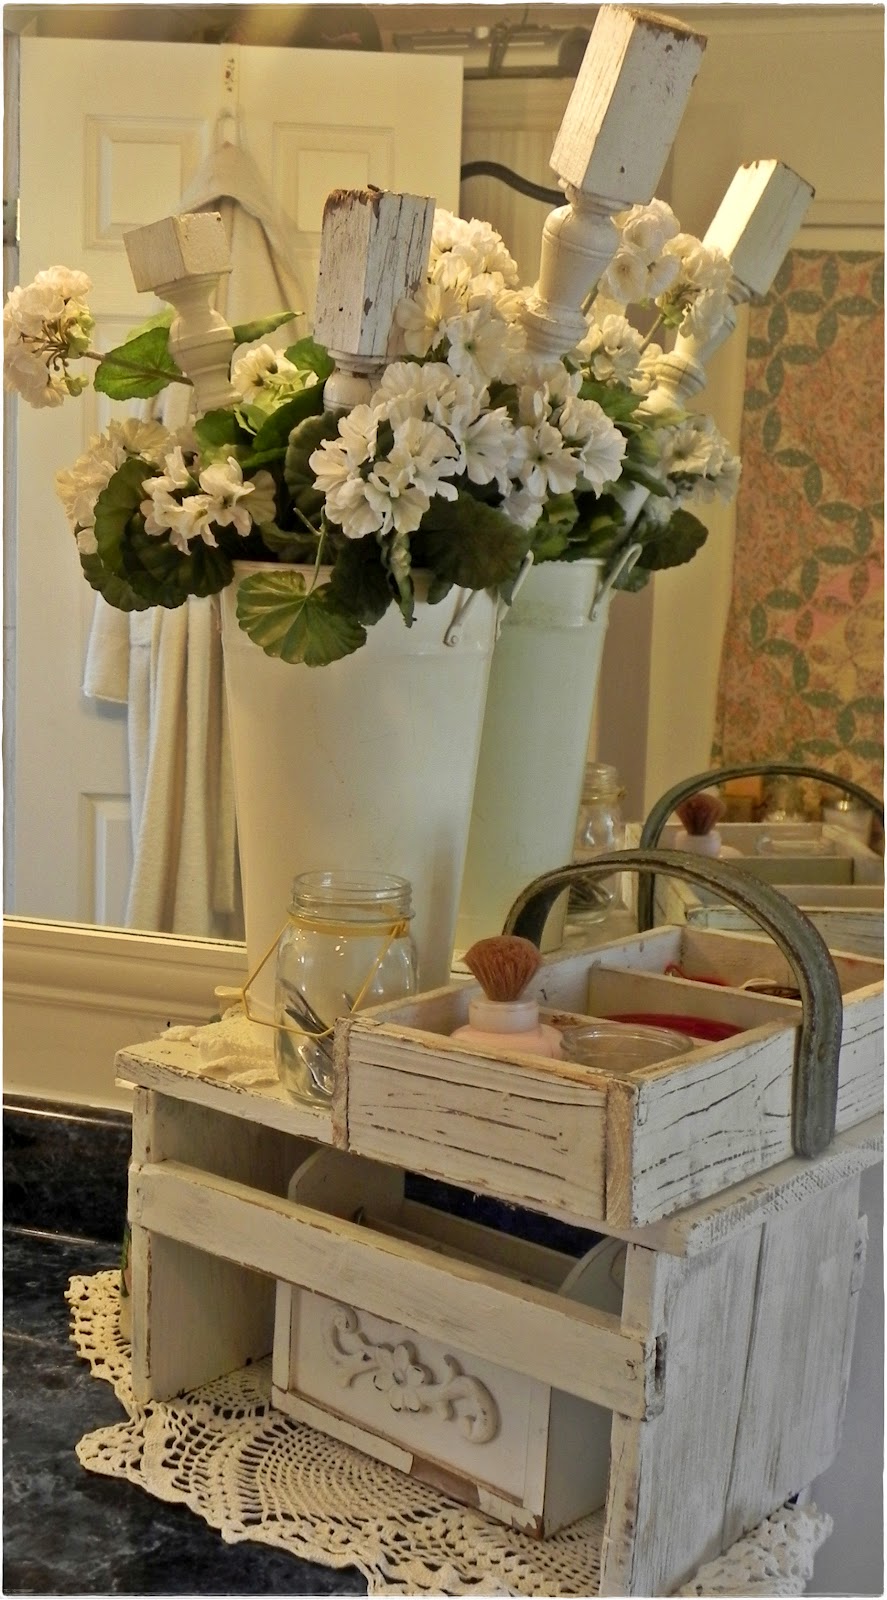
These work great as towel hangers, mixed with some crates, it has a more junk style feel. I do intend to do something with the mirror, I like the white but it is almost too white now. What do you think? I would love to find a chippy shallow wood box to mount there instead and it is on my "hope to find" list.


Now here is a moment of temporary decorating insanity......yes I did this. I painted the large bathroom hot gypsy pink.
     I KNOW!
what was I thinking?
then...we went to blue, and replaced the white countertop with a deep blue swirl. (wishin the white was back) It was outdated and had two flimsy plastic yellowish sinks, one with it's own cigarette rest made from a previous owner that must have made the indent while applying his or her mascara...who knows.  We went with one sink, there was really no need for two and the extra countertop space is much appreciated.  All paint was directly applied over the existing fern wall board which is an almost waxy paper finish, not high gloss like so many options today.


But....at least the blue doesn't clash too much with the white vintage style I have now.


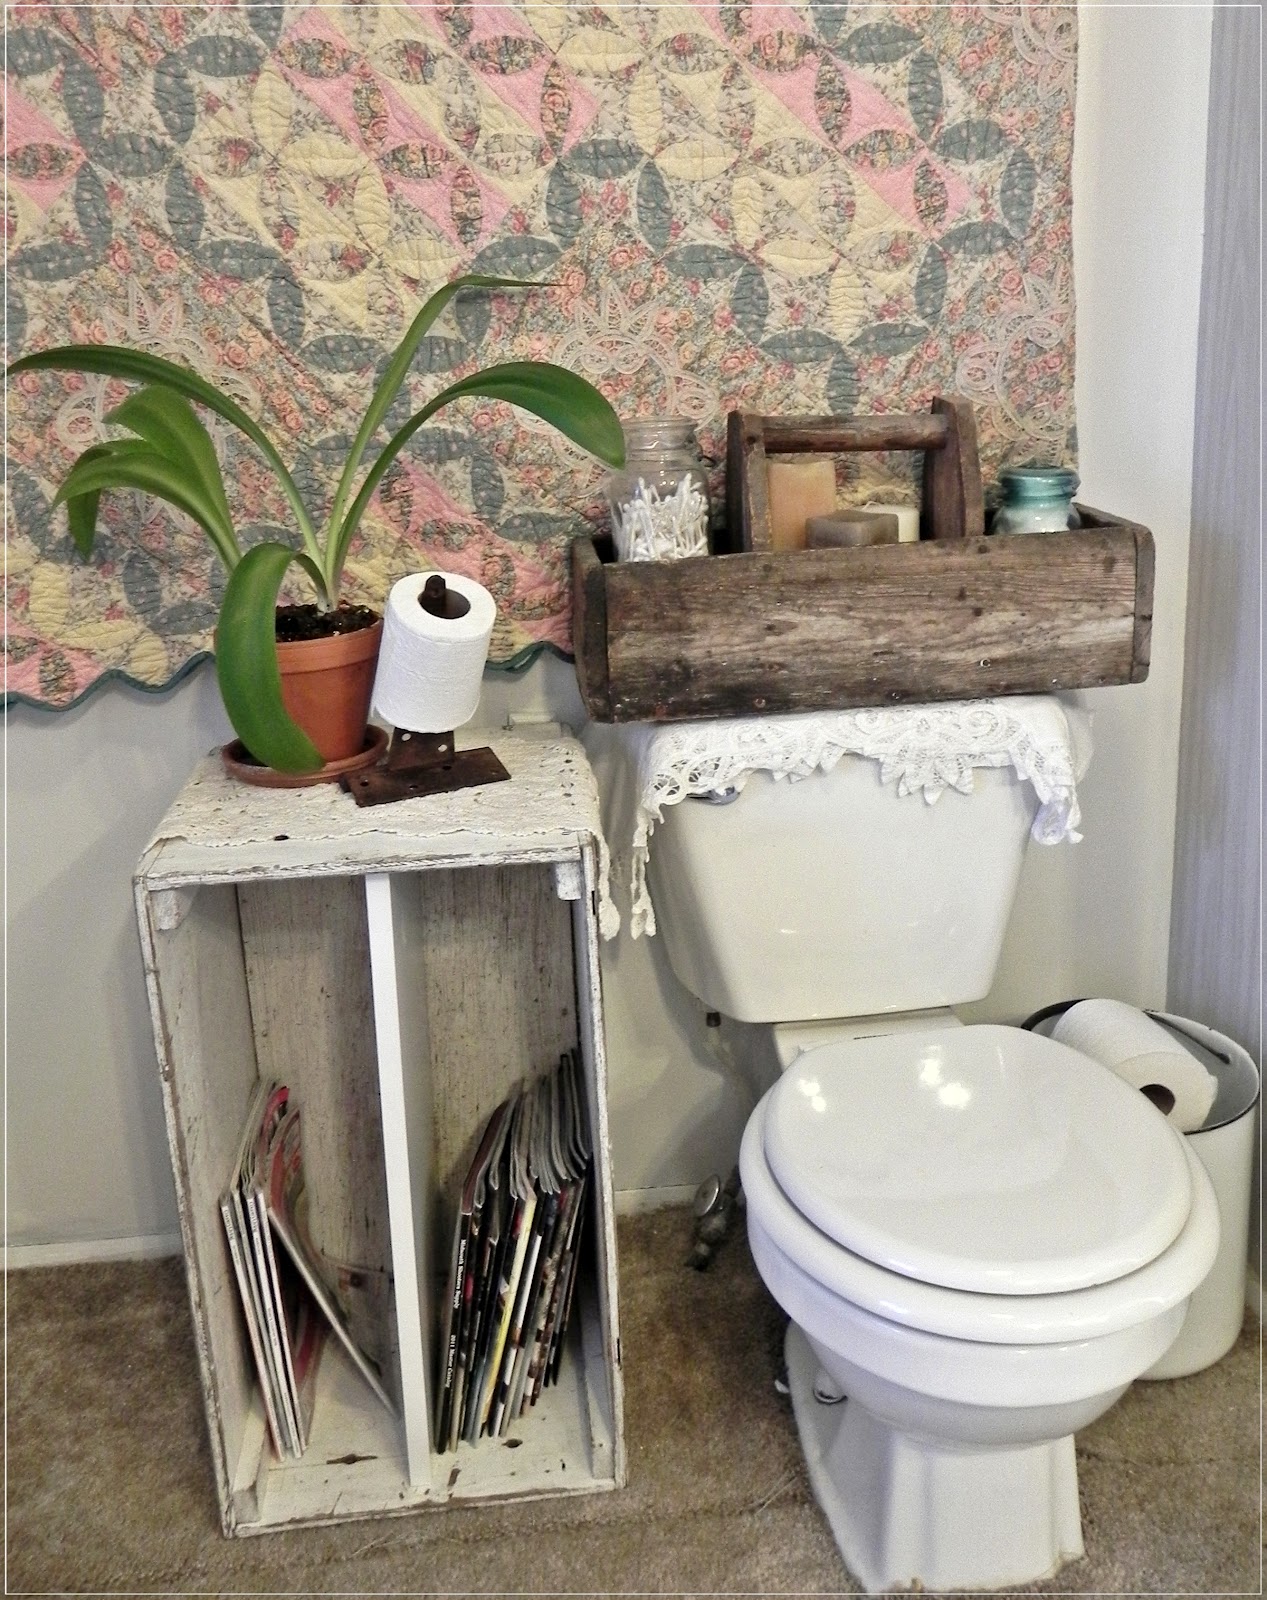
I do love this room, It has been featured on a couple other blogs and has received many pins for which I am grateful.  It is kind of a little retreat.


so, that is the transition of the bathrooms. Last up is the bedrooms, I don't have as many before photos but by now you have caught on to the general before of our home.  I am loving all your comments and emails on your transitions.
And here is a shout out to Ames and her stories of their home and the red and black glitzy bathroom! Hoorah! At least I didn't have that! ; )
See part 1 to this series HERE
See part 2 HERE


blessings and thanks for visiting

Tuesday, March 27, 2012

Mobile Home Kitchen Transition and More Options for Panel


Welcome to the kitchen, perhaps if this is what you saw you would run! After living in apartments for years what I saw...was space. wow could you get any more drab? I just wonder in 1979 when someone looked at this place when it was brand new, did they say, "I love this kitchen, and look at that lovely brown stripped wallpaper."


 Hard to believe we changed it isn't it?


 oh back in the day when all you owned fit in a couple pick up loads, nothing had rhyme or reason, it was just your stuff.  I loved your comments last post on how we look back and shutter......this would be one of those moments. Still it was a simple time, when I was not consumed with blog envy and haunted by shabby chic necessity.


 NOW here was an idea! Paint it the oddest blue green color you can imagine and then stamp flowers on it!  At least I painted the cupboards in the way I liked and it stayed! Oh, and put up a snazzy black and peach and blue valance....that will look great! geesh!  Note- see the white wall, that is the wall paper before painting, see later in post.


Moving along.....today it looks like this. I have since put up a white curtain over the window, not shown here.
 

 Our kitchen dining room is one large area, if you stand in the kitchen and look West, this is what you see....well saw. More brown panel!


This is the fireplace today. We left all of the parts in place but replaced the panel with a new style wall board that looks more white washed .


 Other methods we used in this room were paintable wall paper. It is a heavy textured paper that dries over panel so well all the groves completely disappear. Then when the glue is set you just paint right over it. You can see some highs and lows in the paint, this was accomplished by simply wiping some of the paint off with a rag when it was wet to help highlight the design on the paper.


 The next method we used was torn paper. you see it here on the lower half of the wall.
Take brown wrapping paper, (packaging paper, mailer  grade or torn brown grocery bags without print on them) Tear into strips, leaving some with straight edges to align along edge of wall and ceiling etc.
Crumple pieces and dip into a pail that contains 50% water and 50% ACRYLIC polyurethane, Be sure it is ACRYLIC and water soluble, not the type of poly you normally seal with.
Smooth paper over wall in a mix matched random design, reserving the straight edge pieces where needed. This is messy! use tarps!
Also the crinkles in the paper will absorb more urethane so it will make a design so to speak that gives a finish similar to a suede look. Let dry, now I though when this was drying it looked awful, but when completely done, this is the result! And added bonus....all groves in the panel disappear!


 I must say, I am ready to get rid of the chicken border but it is paper over paper and not sure if I am ready to deal with what ever mess that is going to create, at the very least a new paint job for the whole room!

This is the white wall in photo above


So there you have it.


blessings and thanks for visiting

Monday, March 26, 2012

Transition of our home and options for dealing with wall panel

 The transition of our home.....
First off it is a double wide mobile home, I am going to show you the before retro 70's style and the now. You will see a couple in between shots too,  as our home evolved, so did my style. There are glimpses of a junker at heart but lets say I was swayed by popular style and color schemes at times. I will spare you the hunter green moose and bear theme.
No one should have to relive that or the country blue, mauve duck phase!
 Second I wanted to show you a few options for hiding or dealing with a house full of panel. Brown panel. yuk


 Because of my inability to work properly with my camera, some room shots will have the sun playing, and may be a bit darker than I would like, I have tried to edit so you can at least see some detail, I also do not have a wide angle lens that would produce better indoor room shots.
This is basically what it looks like now.


 Same side of room the day we moved in. you can see panel and the gorgeous faux wood beams on the ceiling.


 This is the North wall


 North wall today. This room  first had sheet rock applied then painted, when the hunter green phase ended we added spackle before repainting. It has had 3 paint jobs in 12 years.
The beams were removed, they were just foam covered with paper and had no support capability.


 The built in book case.  You can't see the lovely gold design on the glass, that was the first to go, hours of scrapping with a razor blade, only to years later decide to abandon the glass all together, it has also been painted, the mirror was removed and permanent  shelving was added to the center section.


 Bookshelf today


 Oh that hall way.  It had been the only remaining natural brown panel in the house, I finally painted it the colors of the living room.
I still intend to do something with the built in area to the left, but have not figured it out yet.

 Doors in our home are rather drab so this one got a little sprucing up, I cut out some trim into rectangular patterns then painted the whole thing, including the heat vent.


 this resulted in a much fresher look that now seems more like a true door than the paper covered hollow mess it was before.


 So lesson one in mobile home renovation, you do not have to be stuck with panel, unless you want to.  Some of your options are paint directly over the panel, ( I did no priming, just a good quality paint, about 2-3 coats) note, if you like the look of the groves there is no need to do anything but make sure your paint is covering inside them, however if you would like to do away with the grove look you can fill them in with Spackle or mud, using a putty knife. We have also done this.
Other options for panel walls coming up are
wallpaper
torn paper
new paneling
wall board
direct panel spackle

 ok would you like to see a couple in between shots of the room?


 ok so when I look back......I think....

 - who ever told me those bears and wood curly ques would look good up there in my living room?
-why didn't we take those beams down sooner!
-I am glad I don't have hunter green super soft furniture that you sink into and can't get out of without the help of a crane.
-Those curtains did not match.

When you look back at your home or old photos what do you spot in the background? Do you laugh out loud? Do you see something you wish you still had? Do you think....."what was I thinking? " I usually have all of the above.


blessings and thanks for visiting

Tuesday, March 20, 2012

Honor Your Father and Mother- Exerpt From Pig Tales

 a partial post from Pig Tales


  Commandment
Honor your father and mother, before I became a Christian honoring my mother wasn't a concern or a thought.....let alone a struggle.

I was always either sad or angry with her.
She would  say something unkind at times but usually she wouldn't say anything at all. Nothing really in regards to what I had done positively, or something I told her about me, it seemed unless it related to her it just didn't matter. That makes you sad, it taps into your, You are not good enough place.
Yeah, it just didn't matter what I did or thought, who I knew or what my day was like,or how I felt; it's not that she didn't know those things or ask, it is more like she was expected to ask and unless somehow it was "needed" information, it would then be crumpled  and thrown on the floor like a useless scrap of paper.
I remember being very sick and in the hospital around the age of 5, the halls were long and dark and I was afraid. Perhaps they didn't let her stay there at night? Perhaps visiting hours were limited then.... I really don't remember her being there, I just remember long dark hallway.

Continue reading at PigTales by clicking HERE


blessings and thanks for visiting

Saturday, March 17, 2012

In The Kitchen- Photo meme

 I am joining a new meme I have come across, actually I was invited to-Weekly Top Shots by The View From Right Here. Madge has some great photos and some wonderful links joining her.
 If you like to click away, check it out and consider joining too.


 My new door I will be showing you soon in an upcoming before and after series on the transition of our mobile home.


 Spring berries and chocolate


 Cookie pie


 Dried roses and fruit


blessings and thanks for visiting
Newer Posts Older Posts Home

LinkWithin

01 0210
11
12 13
14
15 16
17
18 19
20
21 22 23
24
25
28 29
30